At eSkills, we believe that a great learning experience is one that all learners can engage in learning, no matter their individual needs are, including users with accessibility challenges or disabilities.
As e-learning designers: It is our responsibility to ensure that everyone experiences training in a positive and engaging way!
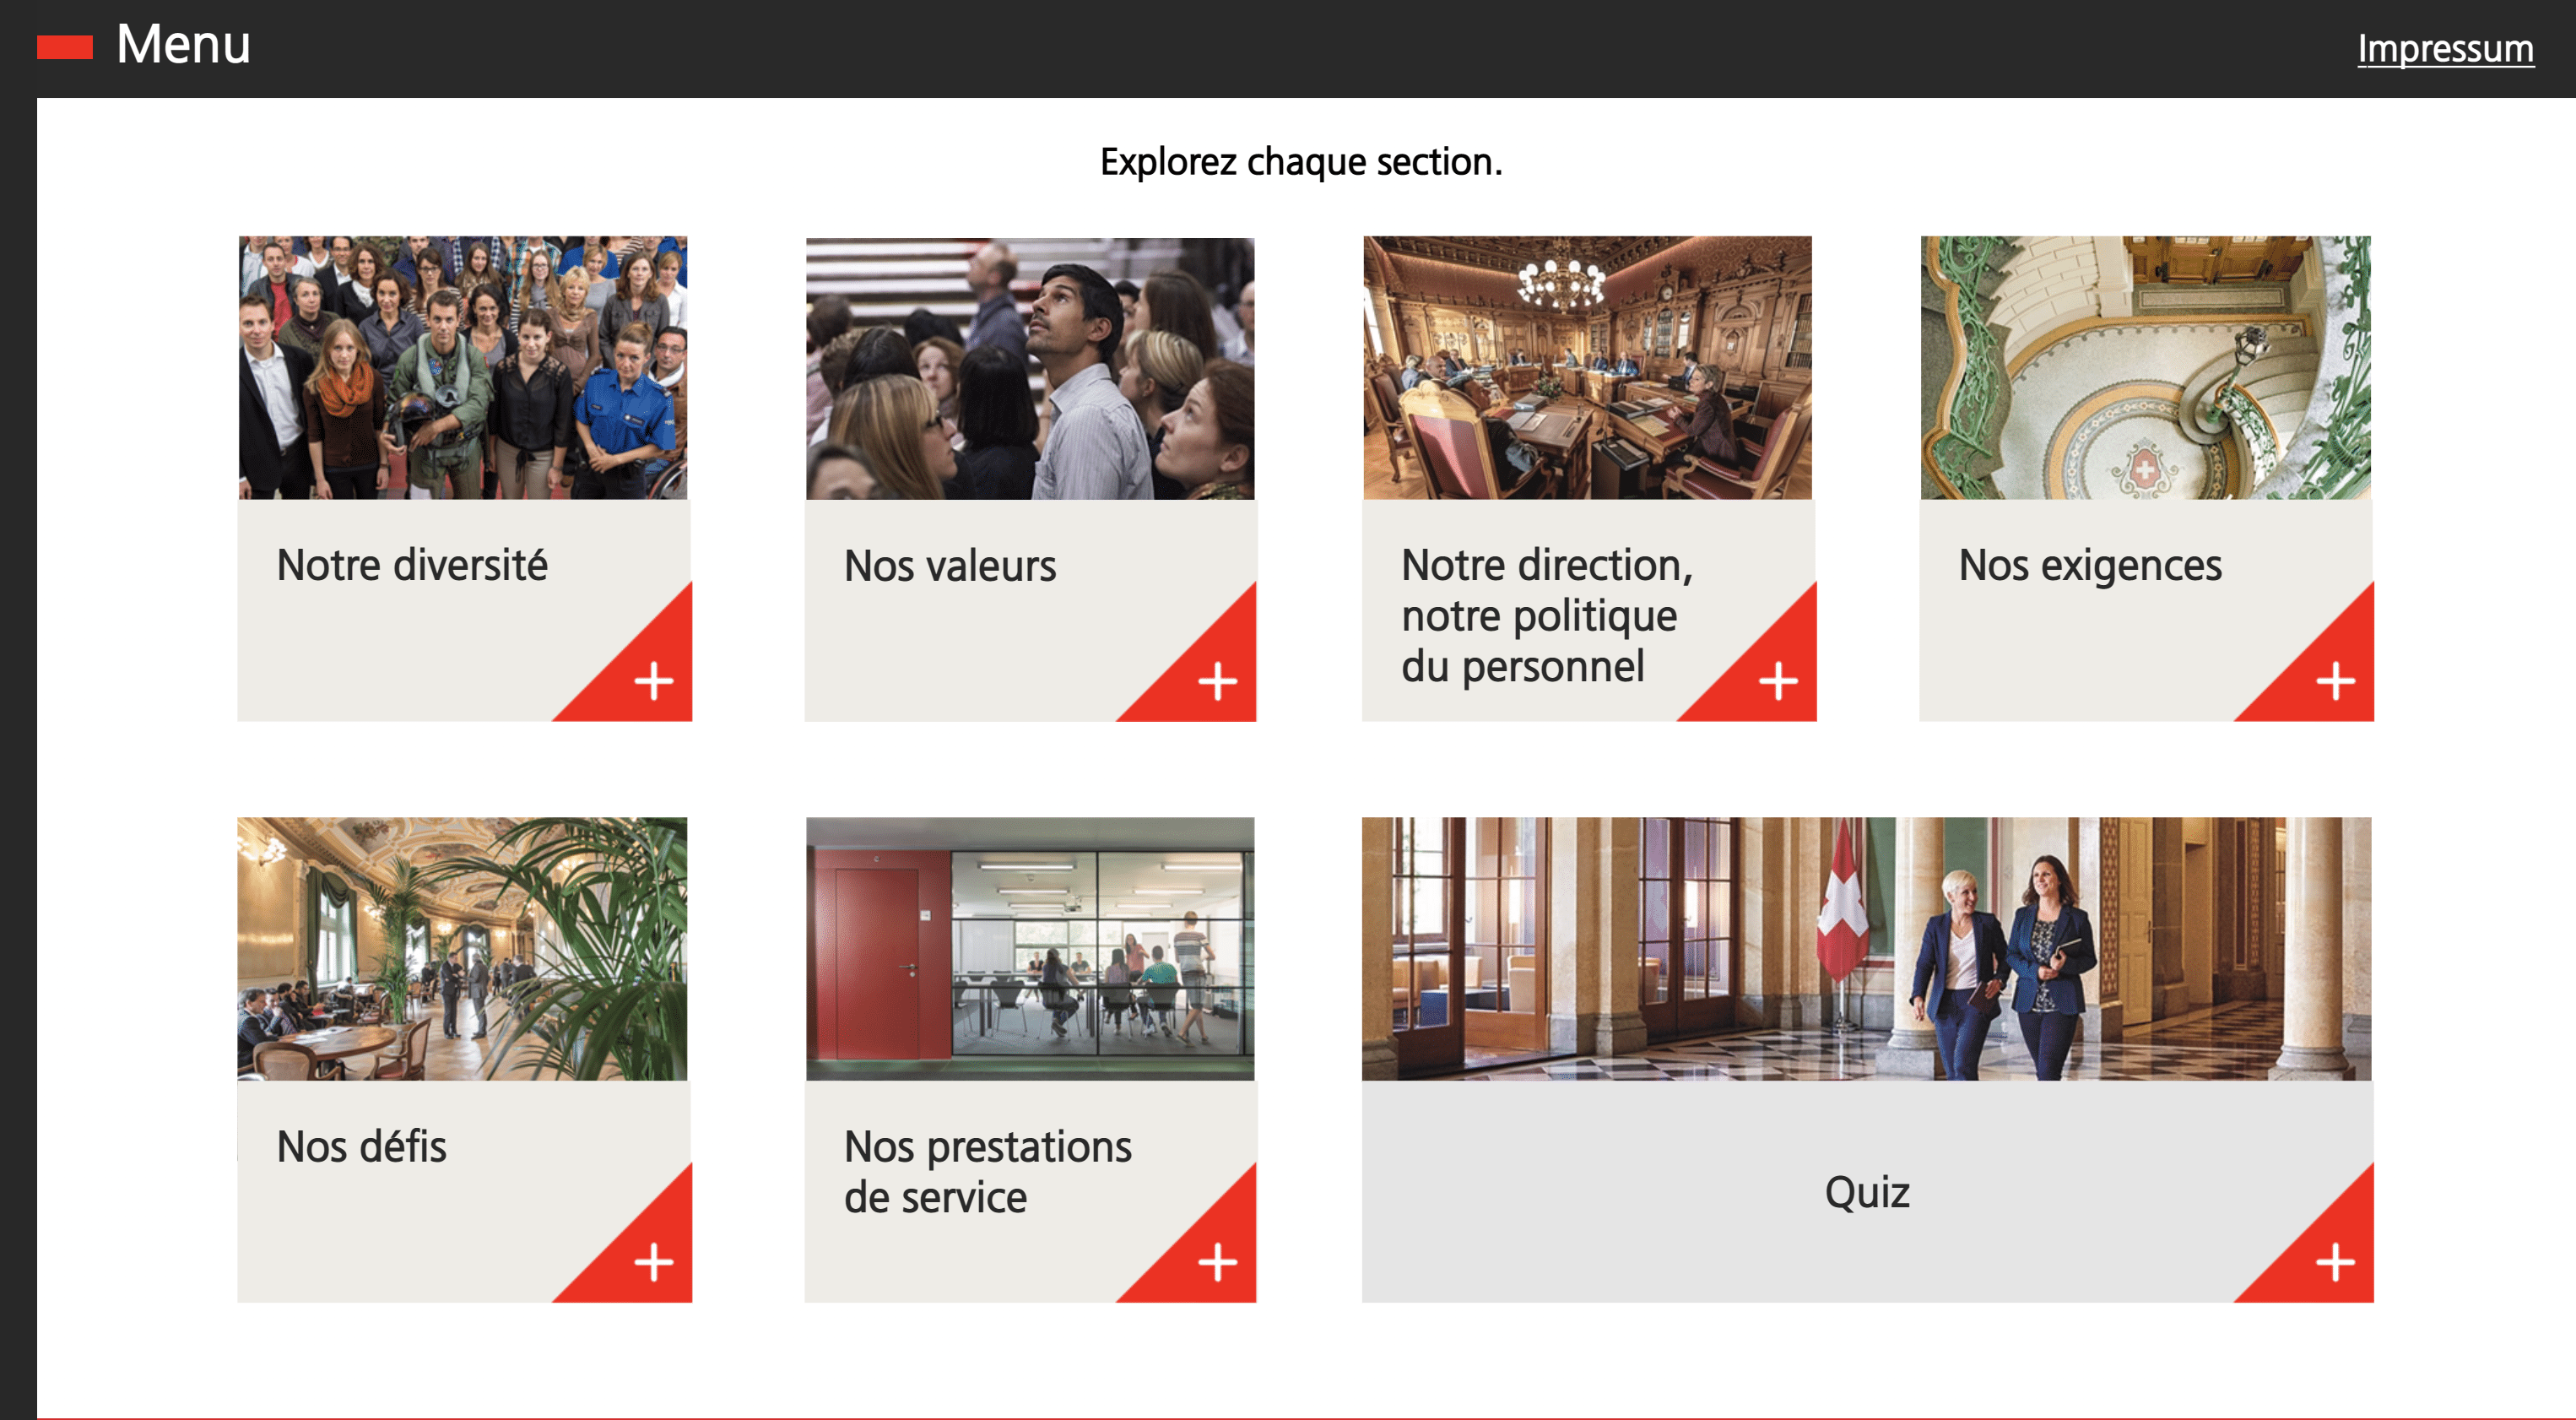
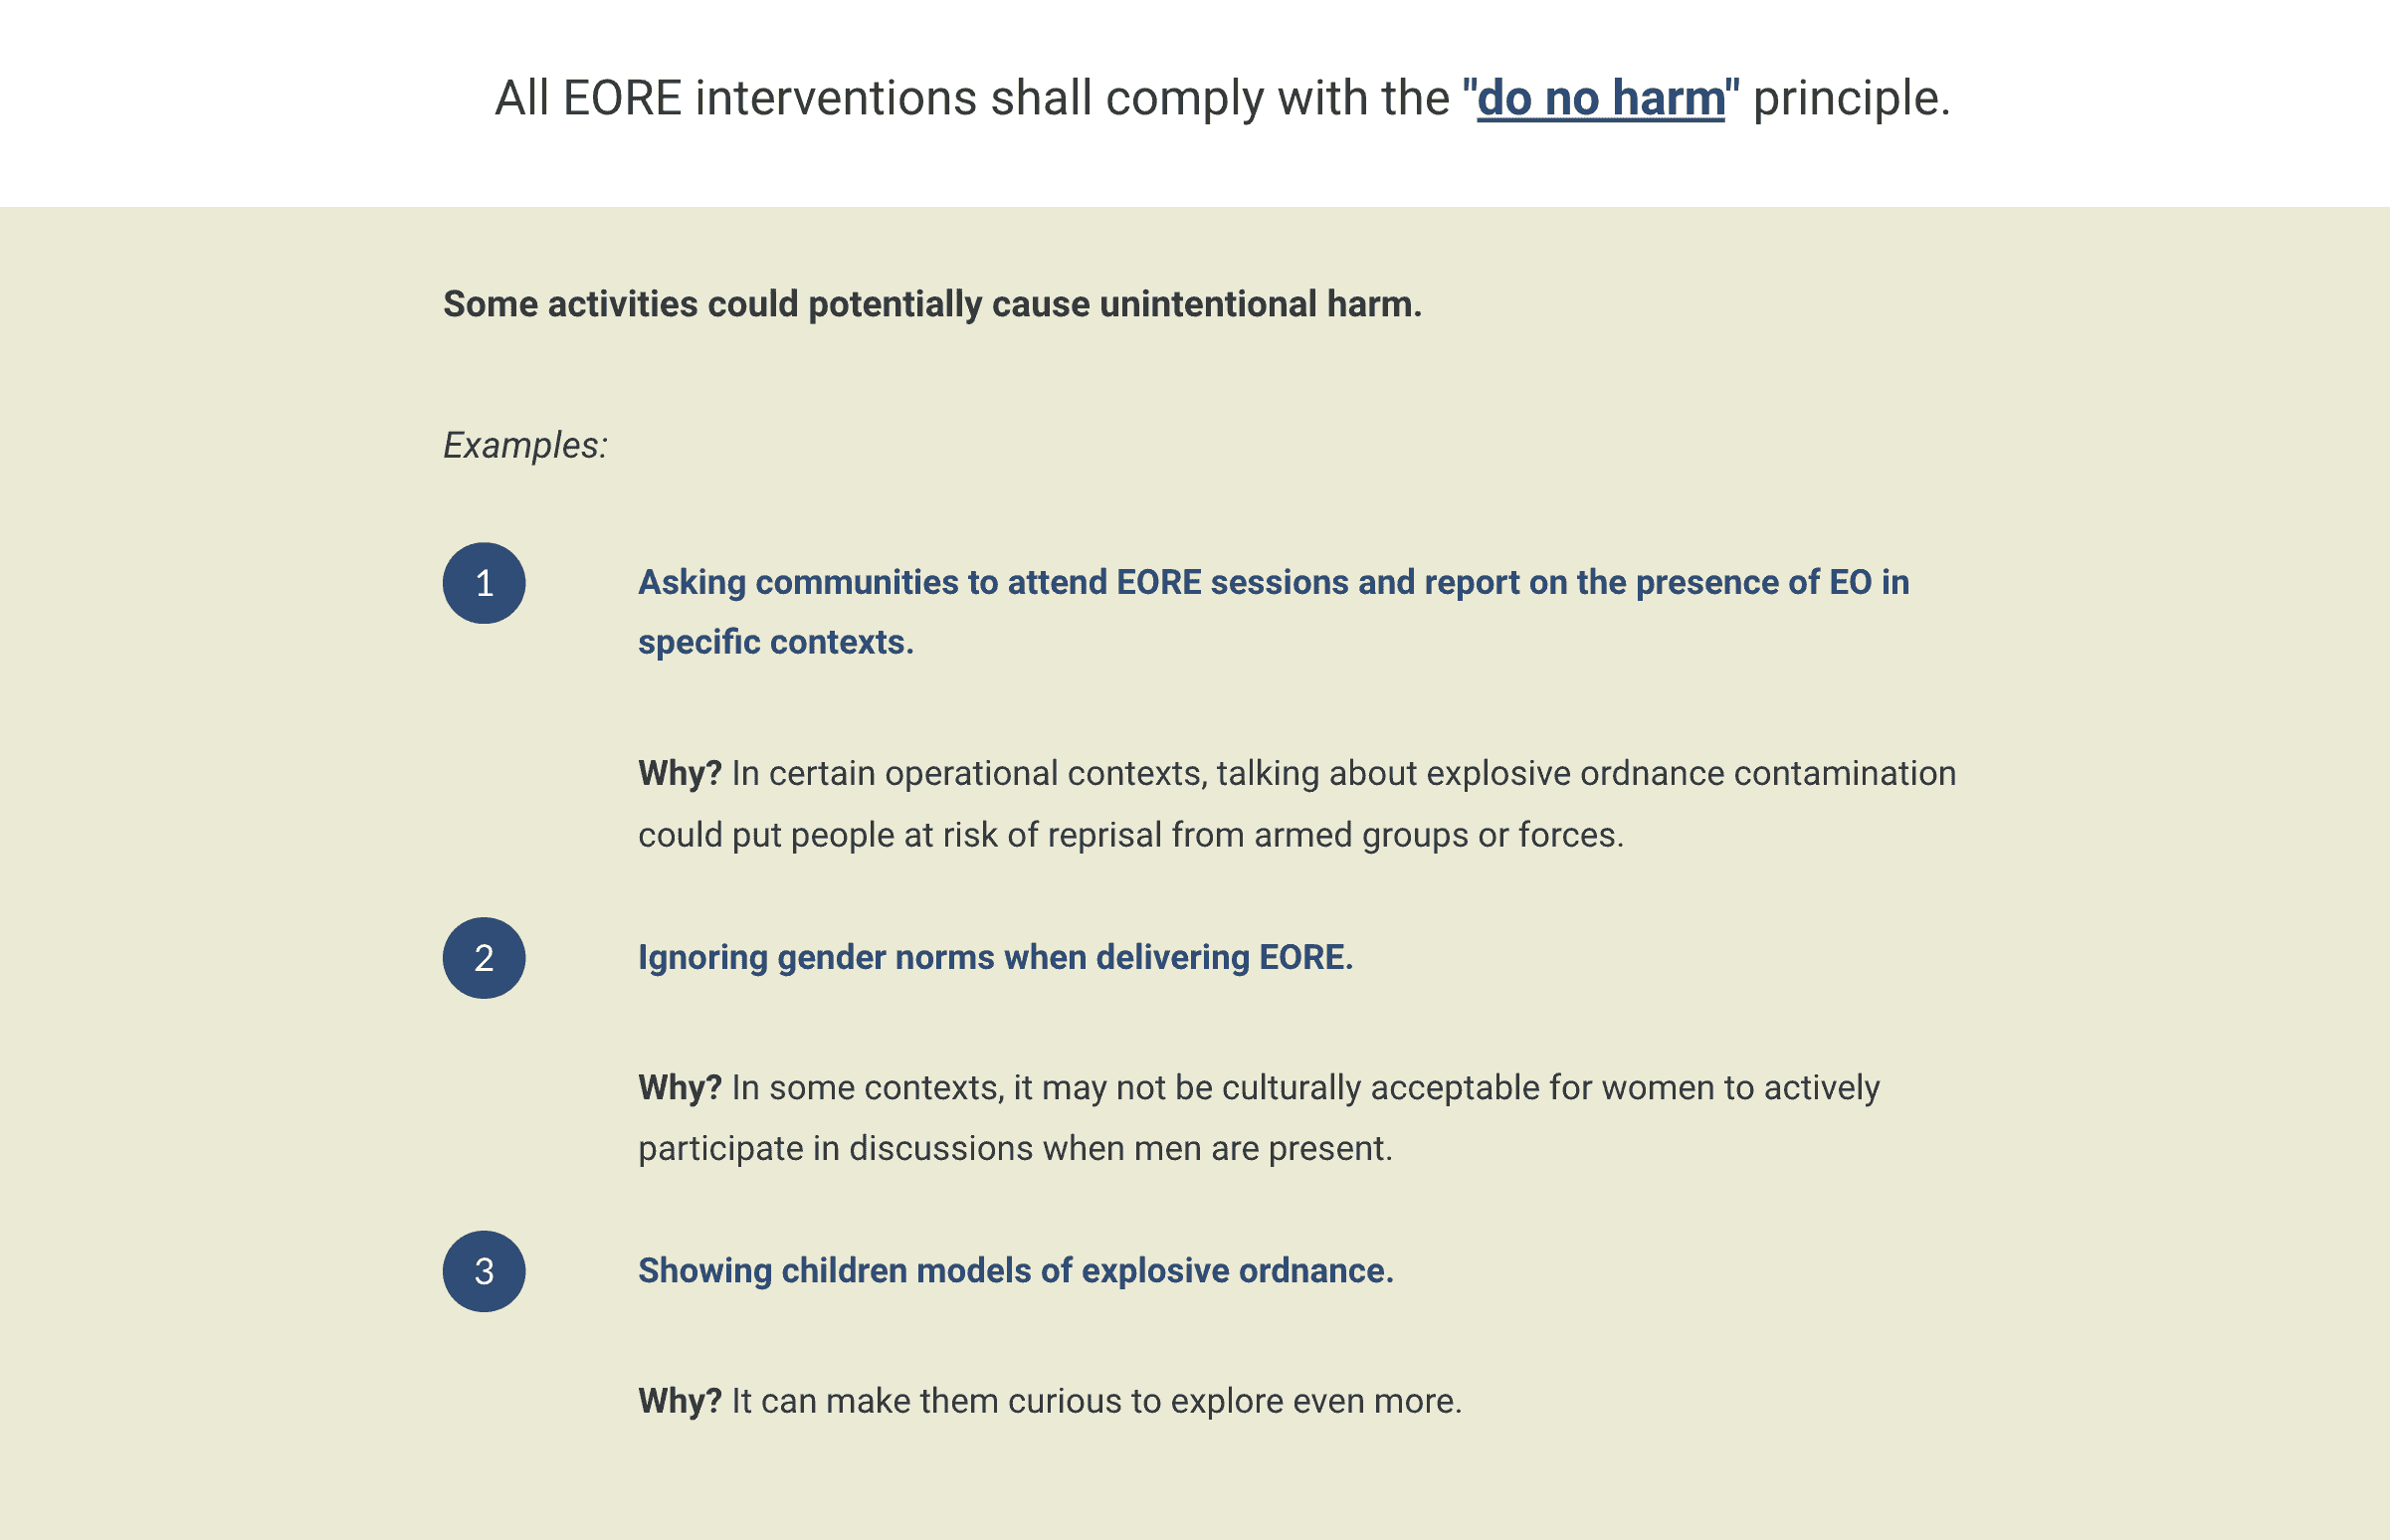
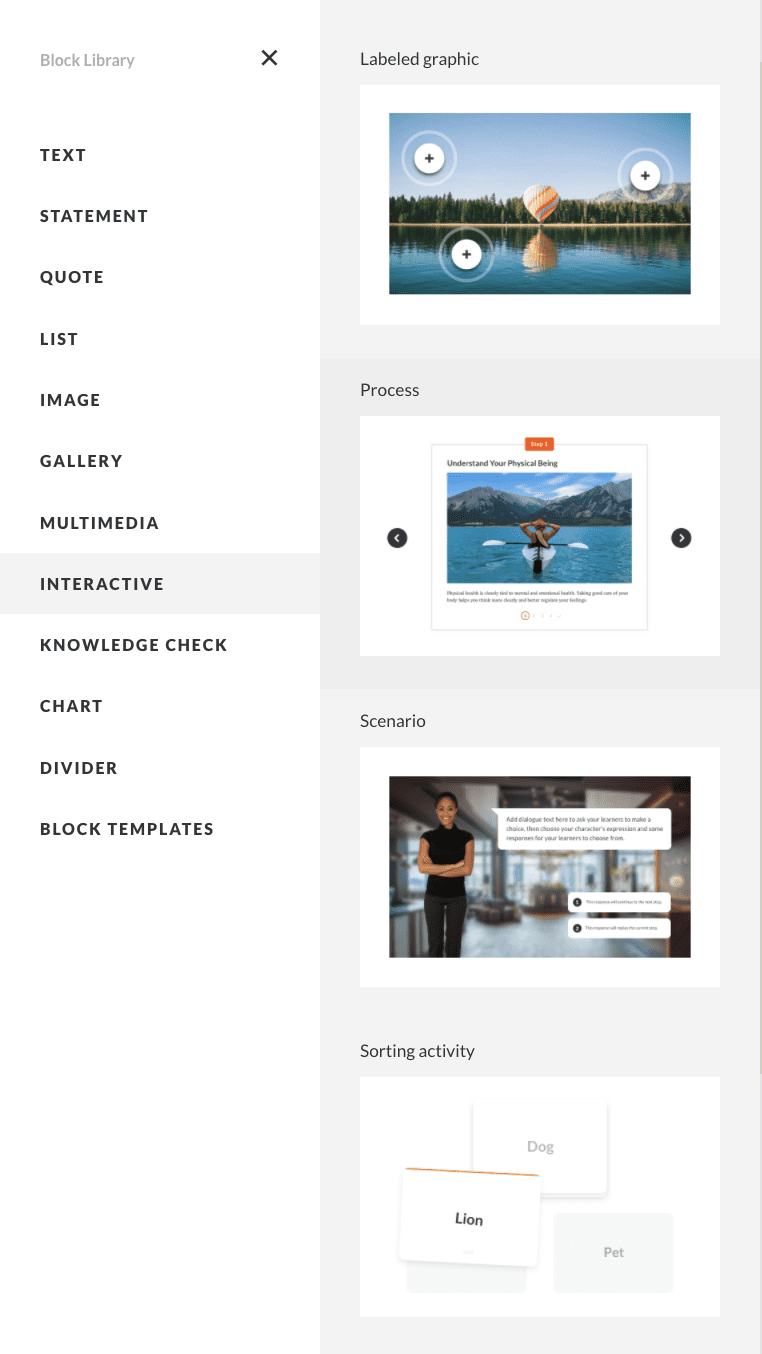
That is why in this article we will share with you 6 best tips for designing an accessible E-learning. Along the way, we will share with you examples of accessibility features developed for two courses we have designed using Articulate Storyline and Rise: an Explosive Ordnance Risk Education (EORE) Essentials programme for the Geneva International Humanitarian Centre for Demining (GICHD) and an onboarding programme for the Swiss Federal Administration.
Tip #1. Write Concise, Descriptive Alternate Text
For learners with visual impairment, they rely on screen-readers to convert text to audible speech or braille. Since screen-readers are not able to interpret images, it is essential to write alternative text (alt text), so that no learner misses out on vital information.
Writing effective alt-text is an art-form in itself: It should be concise, descriptive: An aid to comprehension, not a distraction! Here are some key considerations:
- Add an alt text description for every image.
- Avoid the phrases “image of ” or “graphic of ”. Focus instead of just provide the key information the learner needs.
- Stay clear from excessive punctuations e.g. *****
- Refrain from embedding text within images
Tip #2. Include Closed-Captions and Written Transcripts for Videos/Audios
To accommodate both hearing-impaired learners, you should include closed-captions for your videos. Moreover, doing so can also help learners who may not be native-speakers in the language spoken in your video.
For audio-only content, such as podcasts: You should also provide text-based alternatives, such as a written transcript.. As a plus, other learners can refer to the transcripts for notes and revision too!
Tip #3. Pay Attention to Formatting, Font and Colour
Formatting
Break up long chunks of your content using clear, consistent use of Heading blocks (H1,H2) and content labels. Not only will this keep your course more organized, it also help all learners orientate and process your course more easily.
This is particularly more important for learners using assistive technologies, as screen-readers essentially scan the underlying structure of your course to help learners navigate through the content
Using plenty of white space to help your learner to concentrate and read without distractions. This will definitely allow aid them in the understanding of your content.
Font
When it comes to font size, bigger is better. Keep your font size ranged between 16 to 18 points.
If you need to emphasize on a word or sentence, use a bold font. Refrain from italics, or other text effects like shadow or glow, as they distort the words and make it harder for learners to read.
Color
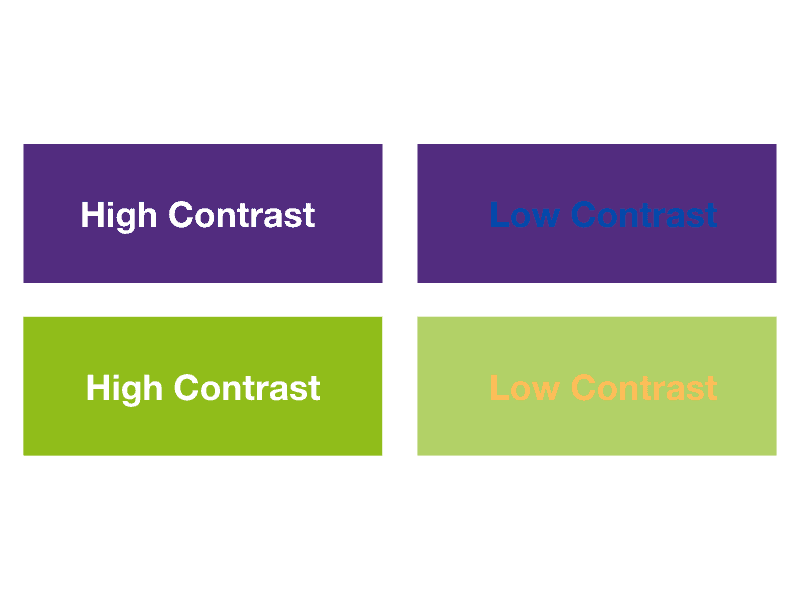
People with low vision often have difficulty reading text with insufficient colour contrast. In other cases of colour blindness, colour contrast levels can also be an issue too.
See how the high contrast text is so much easier to read than low contrast text:
We recommend that you check out these two tools that can help check the contrast if you have test over a background image, and to analyze your colours used for your Camtasia, Storyline and Captivate projects.
Tip #4. Provide Clear Navigation
Avoid using generic phrases like ‘click here: Instead, specify to learners by making use of navigational elements, such as a ‘Next’ or “Continue” button to move to the next page.
Tip #5. Create disability-friendly links
Hyperlinks are frequently used in e-learning: to direct learners to external other pages to explore further information, or to download course content.
When creating hyperlinks: make your links as descriptive as possible. For instance, instead of just “click here”, hyperlink the text that explains what the link leads to.
Also, make sure there are at least two full words in your hyperlink text. This will help it easier to click for learners with limited fine motor skills.
Tip #6. Use complex interactions sparingly
Put yourself in the shoes of someone who is visually impaired or with poor motor skills. Often, he/she might be using a keyboard rather than a mouse for navigation. Would he/she be able to engage in interactions like drag-and-drop, hotspots or matching exercises? Unlikely!
While interactive activities are fantastic ways to engage your learners and inject more fun in your learning, avoid overloading with too much complex activities.
Instead, find alternative ways to design your interactive elements, making them as simple as possible.
Conclusion
Accessibility disability computer icon
Accessible eLearning ensures that all learners have a barrier-free opportunity to participate in web-based learning activities. As e-learning practitioners, we all can do more in design e-learning content with more empathy and purposeful intent: one that takes into consideration varied learning needs.
We hope the tips outlined in this article have given you better insights on how to design accessible eLearning for all!
Do you have other tips and suggestions? Share with us by leaving a comment!
At eSkills, we are proud of our expertise in designing for accessibility. We would love to help you in creating a better learning experience.
If you need help with designing your own accessible eLearning, get in touch with us at hello@eskills.ch!

